Focus: Faux Veneer
Good morning!
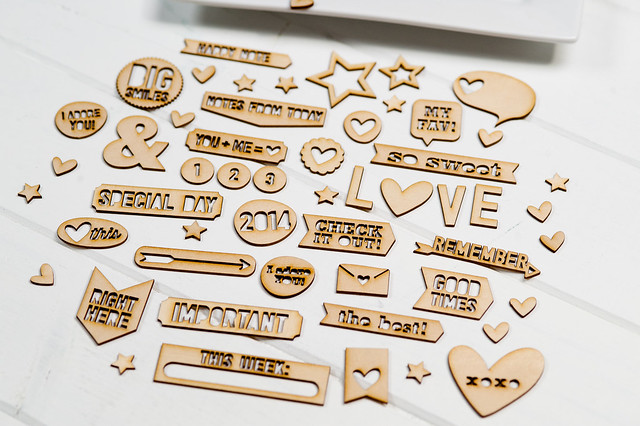
Today, we are featuring our Faux Veneer set.

Design Inspiration: Wood Veneers

Creative Ideas:


You can let these little faux veneers shine, and use them as the main focus of your card! Here, I stamped the sweet bike and speech bubble, then carefully cut around each piece. Once I colored them in (with Copic markers), they became the perfect embellishments for the scene I created on the tag.


I love to create patterns- it's always awesome to take a small, unassuming image, and turn it into a great design! Here, I stamped the triangle veneer in a fun coral-colored ink, focusing on the top portion of the card. To create my banner, I die cut an open circle (using two concentric circle dies), then folded it and cut the ends to a "v." Using one of the sentiments in the set, I curved the stamp on my acrylic block, and stamped it in black ink. I finished off the card with some black adhesive "pearls."


Sometimes it's fun to just experiment and go wild! Here, I created a splashy background with Distress markers and a lot of water. Once it dried, it was the perfect canvas for some scattered veneer stars. Because I used so much color in the background, I kept everything else black and white to balance the card.
Below is an awesome card from Tasnim; she used the stamps as if they were real wood veneers.

The bike and the stars were stamped in brown ink, colored with pencils and then trimmed to mimic the look of actual wood veneers. A kraft knife was used to cut out the white spaces withing the bike, a little tedious but all worth it for this sweet little bike!

We can't wait to see what you create with Faux Veneer!


